REVIEW · ROME
Rome, Private Photography Guided Tour – Capture Iconic Sights
Book on Viator →Operated by Rome Photography Tours · Bookable on Viator
Rome rewards a camera. This private session is a walking photo tour where Antonio helps you frame the Forum and beyond, with hands-on guidance as you go. I like the custom itinerary flexibility, because you can steer the walk toward your interests, not a rigid checklist. I also love that the focus stays practical: you’re not just staring at monuments, you’re learning how to shoot them. The one thing to plan for is that this works best if you bring your own camera gear and you’re okay doing an active walk.
One more consideration: you’ll get the best results if you show up ready to shoot in different light. Bring a tripod or monopod if you have it, because Rome can go dim fast near sunset and for low-light angles.
In This Review
- Key highlights to clock before you go
- Why this Rome photo walk feels different from a normal sightseeing tour
- Meeting at Largo di Torre Argentina, then walking with purpose
- Stop 1: Foro Romano sights, Tiber Island views, and the Colosseum angle
- Stop 2: Città del Vaticano segment with Pantheon, Piazza Navona, Castel Sant’Angelo, and Vatican City
- What you learn from Antonio while you’re actually shooting
- Gear checklist: what to bring (and how not to lug the wrong stuff)
- Price and value: $216.27 for a private 3-hour session
- Who should book this photo guided tour
- Small planning tips that make your photos better right away
- Should you book this private Rome photography tour?
- FAQ
- What is the duration of the Rome private photography guided tour?
- Where does the tour start and end?
- Is the tour private?
- Do I need to bring a camera?
- Are entrance tickets included?
- Is the tour limited to people who take photos?
- Can I get a refund if I cancel?
Key highlights to clock before you go
- Private group, your pace so you can stop, adjust, and shoot without feeling rushed
- Antonio’s photo guidance while walking (composition help, practical shooting tips)
- Customized route so you can shape the stops around what you want to photograph
- Timing for better light with guidance on where to stand at the right moment
- Iconic viewpoints packed into 3 hours from the Roman Forum/Colosseum area to the Vatican-side sights
- Bring-your-own camera required with clear gear suggestions like tripod/monopod and extra batteries
Why this Rome photo walk feels different from a normal sightseeing tour
This tour is built for photography, not just photos. You’ll move through some of Rome’s most recognizable areas, but the point is learning how to see them—angles, scale, and light—so your pictures look like you understood the city, not just where you stood.
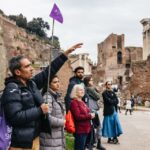
I especially like the way Antonio handles instruction while you’re still walking. Instead of saving tips for later, he gives guidance in the moment—how to line up a shot, how to approach composition, and when it’s worth waiting a minute for the light. It’s the kind of coaching that helps even if you’re an amateur who’s mostly trying to get good results without becoming a full-time technical nerd.
Also, this is a private experience. That matters in Rome, where crowds can hijack your photo plans. With your own group, you can pause, reposition, and try again without negotiating with strangers for the same prime viewpoint.
You can also read our reviews of more guided tours in Rome
Meeting at Largo di Torre Argentina, then walking with purpose
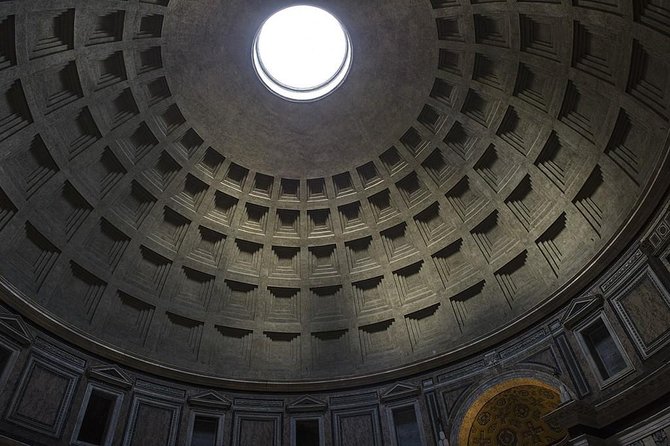
The tour starts at Largo di Torre Argentina, 7, 00186 Roma RM, Italy, and it ends back at the same meeting point. You’re told it’s near public transportation, which helps because this is not a hotel pickup setup.
The duration is about 3 hours (approx.), so think of it as an efficient, focused photo sprint rather than a full-day Rome project. The walking is real enough that active travelers tend to enjoy it most, but non-photographer friends are welcome too—so if your travel buddy wants the stories and viewpoints without grabbing a camera every 30 seconds, that’s fine.
Because it’s private and customized, you can usually adapt the pace and photo intensity to your comfort level. Want more stops for the camera? Lean in. Want fewer detours and more big-picture views? That can work too.
Stop 1: Foro Romano sights, Tiber Island views, and the Colosseum angle
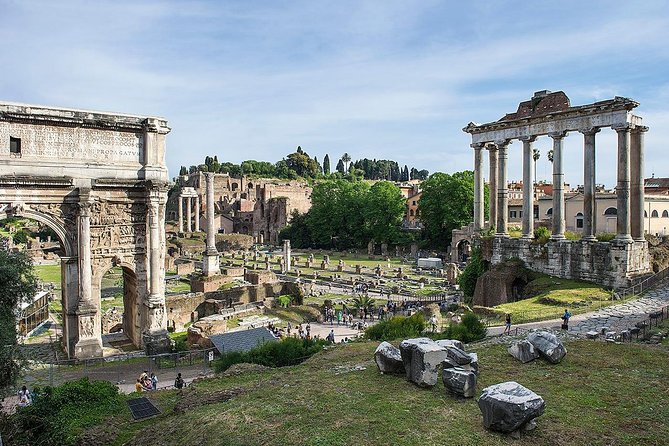
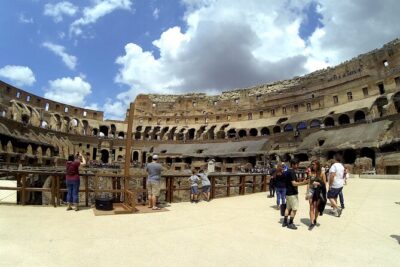
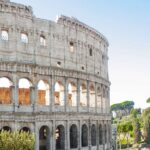
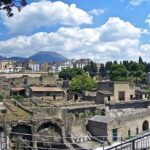
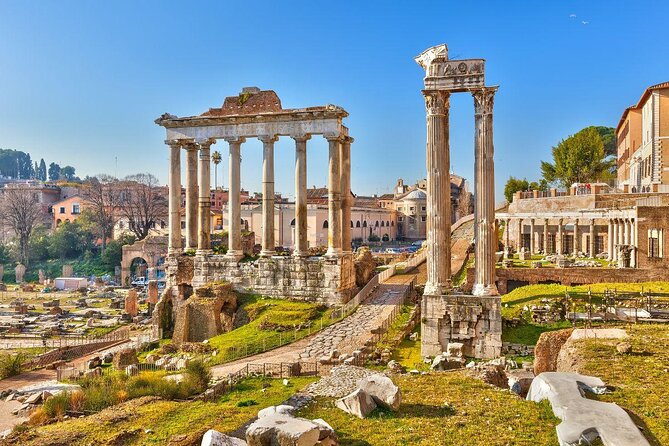
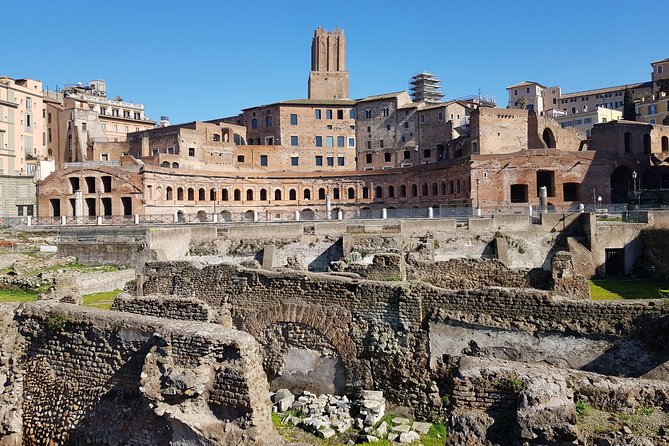
Your first segment centers on the Foro Romano area, starting from Largo di Torre Argentina and moving through key landmarks in the surrounding zone. Expect the walk to connect viewpoints toward the Jewish ghetto, Tiber Island, Capitol Hill, the Roman Forum, and finally the Colosseum area.
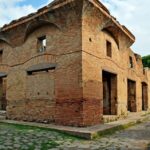
What makes this stop work for photographers is that you’re shooting a mix of textures. You get architectural lines, ancient surfaces, and sweeping sightlines that change quickly depending on where you stand. Even if you’ve seen these places in photos, you’ll notice new framing options when you have someone guiding your position.
A big practical win here: timing. Antonio is known for understanding where you need to be and when for the best light. That matters in the Roman Forum area, where shadows from tall structures can make or break your image. Having guidance can save you from the classic mistake of arriving at a great spot at the wrong time and then settling for a flat photo.
One more helpful detail: this part is marked as having an admission ticket not included. So if you want to enter ticketed sites within this zone, you’ll need to plan for that separately.
Stop 2: Città del Vaticano segment with Pantheon, Piazza Navona, Castel Sant’Angelo, and Vatican City
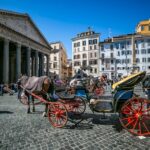
The second stop is listed as Città del Vaticano, and it covers a string of major sights that many first-time visitors want in one day. Along the way, you’ll encounter or photograph from areas associated with the Pantheon, Piazza Navona, and Castel Sant’Angelo, leading toward Vatican City.
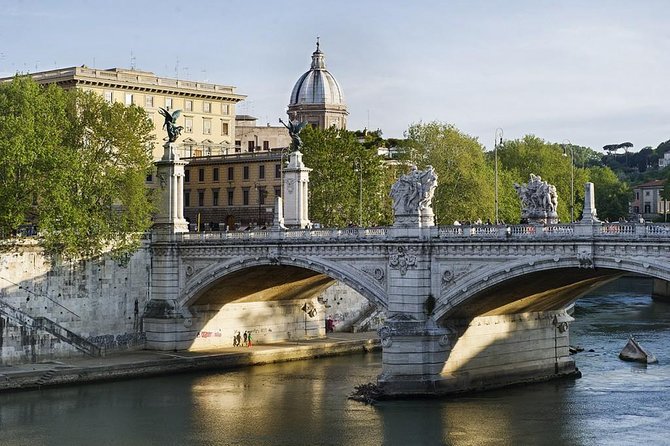
This is where the tour shifts from ancient stone crowds and open ruins to Rome’s classic city-scene photography. Piazza Navona-type squares are great for learning how to handle people, movement, and symmetry without making your shots look staged. The Pantheon area often gives you strong angles and contrast, while Castel Sant’Angelo-area viewpoints are useful for practicing layers—foreground detail, mid-ground architecture, and distant structure.
The tour information also notes that admission for this segment is free. That’s encouraging, but do keep in mind that entrance fees in general are not included for touristic attractions. In other words: you can enjoy the route and viewpoints without a ticket, but if there are specific ticketed interiors you want, you’ll still want to check what you’re actually able to access on the day.
What you learn from Antonio while you’re actually shooting
This tour’s best value is the coaching you get on the move. Antonio is described as a photographer who also teaches with patience—so you’re not left guessing why one composition works and another one doesn’t.
Here are the types of photo help that make this feel like more than a “walk and shoot” session:
- Composition guidance in real time: you’ll be pointed to positions you might not have discovered on your own, and you’ll get feedback that improves your framing decisions quickly.
- Fundamentals explained clearly: if you’re an amateur, you’ll get practical direction that helps you understand what to change next time.
- Light awareness: you’re not just told a time-of-day fact—you’re guided to the right place at the right moment.
- You take photos during the tour: you get advice and then immediately apply it, which makes the learning stick.
One of the nicest parts is that the coaching isn’t limited to one type of camera person. If you’re using an SLR or mirrorless, you’ll likely appreciate lens suggestions and stabilization ideas. If you’re shooting more simply, you can still use the composition and timing lessons to upgrade your results.
And if you’re traveling with someone who doesn’t shoot much, they can still get the stories and perspective. Antonio doesn’t just focus on settings; he also helps you understand what you’re looking at so your images come with context.
You can also read our reviews of more private tours in Rome

Gear checklist: what to bring (and how not to lug the wrong stuff)
You’re expected to bring your own camera—digital or analog. A tripod is recommended, especially for night photography or low light. If you don’t want a full tripod weight penalty, a monopod can be easier to carry around Rome and still help with steadiness.
Here’s the gear list the tour highlights, plus what it means for your day:
- Your personal camera: obviously needed, since the tour includes instruction, not equipment rental
- Camera backpack: keeps things organized when you’re walking and repositioning
- A selection of lenses: helpful if you want close architectural details and wider city angles
- A flash unit (optional): they may not use it, but having it can help in tricky indoor-like lighting situations
- Extra batteries: you’ll be shooting more than you expect in 3 hours
- Tripod or monopod: best for low light and night shots where shutter speed matters
- Comfortable walking shoes: Rome is Rome—your feet will vote on whether the photos are fun
A practical note: if you plan to use a tripod, think about how you’ll carry it through crowds. A monopod is often a smart compromise when you want stability but you also want to move fast.
Price and value: $216.27 for a private 3-hour session
At $216.27 per person for about 3 hours, this isn’t a budget “grab a ticket and go” tour. The value comes from three things: a professional photographer guide, a customized route, and a private format where you’re not competing for your turn at viewpoints.
If you’re serious about getting better photos—especially if you want help with composition and timing—this price starts to look reasonable. You’re paying for guidance that can save you time and frustration. Instead of wandering alone and hoping you stumble on the best angle and light, you get somebody who’s focused on making your images stronger.
It’s also a good value if you’re the type who learns by doing. The tour isn’t only talk; you shoot during the walk, and you apply tips immediately. That kind of coaching compresses your learning curve.
On the flip side, if you only want a quick Instagram walk with no real interest in learning or equipment choices, you might find a standard sightseeing tour is a cheaper fit.
Who should book this photo guided tour
You’ll likely enjoy this most if you fit one of these profiles:
- You want hands-on photo help rather than just sightseeing
- You travel with a camera and want better results without spending months learning settings
- You like active walking and don’t mind repositioning for shots
- You want a route that can be customized to your priorities
- You’re traveling as a group and want a private experience (friends included, even if they’re not photographers)
It’s also a smart choice if you’ve already seen Rome once and you’re returning mainly for photos and a sharper eye. Rome gets easier to photograph when you know where to stand and how to handle light, and that’s exactly where this tour aims.
Small planning tips that make your photos better right away
If you want to show up prepared, do two things before you arrive in Rome:
- Decide what kind of photos you want: big monuments, architectural details, street scenes, or low-light/night shots. This helps Antonio tailor advice to your goals during the walk.
- Charge up and pack basics: extra batteries matter, and so does having lens access if you’re using more than one lens.
Also, set expectations for Rome’s lighting. Even in a short window, shadows can change quickly. The tour’s strength is that you’re not just passing through—you’re being placed for those moments when the light behaves better.
Should you book this private Rome photography tour?
Book it if you want your time in Rome to translate into stronger photos, not just more sightseeing stamps. The private, customized setup plus Antonio’s focus on composition and timing makes this a great fit for anyone who’s already photographing and wants to level up.
Skip it if you’re not interested in bringing camera gear, repositioning for shots, or learning anything along the way. This isn’t a hands-off sightseeing tour. It’s a camera-focused session, and it works best when you show up ready to shoot.
If you book, I’d go in with one or two photo goals and a willingness to walk a bit. That’s when the session turns into a real upgrade for your Rome pictures.
FAQ
What is the duration of the Rome private photography guided tour?
The tour lasts about 3 hours (approx.). It ends back at the meeting point.
Where does the tour start and end?
It starts at Largo di Torre Argentina, 7, 00186 Roma RM, Italy. The activity ends back at the meeting point.
Is the tour private?
Yes. It’s a private tour/activity, and only your group will participate.
Do I need to bring a camera?
Yes. You must bring your own digital or analog camera. The tour also recommends bringing a tripod (or a monopod) for night or low-light situations.
Are entrance tickets included?
Touristic attractions entrance fees are not included. Admission for the Città del Vaticano segment is listed as free, while the Foro Romano stop lists admission ticket not included.
Is the tour limited to people who take photos?
No. Non-photographer friends and travel companions are welcome.
Can I get a refund if I cancel?
You can cancel for a full refund up to 24 hours in advance of the experience start time. If you cancel less than 24 hours before, the amount you paid won’t be refunded.