REVIEW · ROME
Rome Photography Masterclass – Private Photography Lesson
Book on Viator →Operated by Aperture Tours · Bookable on Viator
Rome is a camera classroom. This private photography masterclass in central Rome is built for one goal: help you get better photos while you see major sights and a few quieter angles. You can pick a day or night session, which changes the whole look of the city.
What I like most is the private, hands-on coaching. A photography professional guide adjusts the lesson to your skill level, from absolute beginner to more experienced shooters, with practical tips on camera settings, composition, and street-style ways of framing Rome.
One thing to consider: the stops are mostly “pass by and photograph” moments, not long museum-style or interior visits. Also, you’ll want to bring your own camera, and if you need a tripod, it’s only available on request.
In This Review
- Key takeaways before you book
- A 3-hour Rome photo masterclass with day or night options
- Private coaching: how it improves your photos fast
- Meeting at Fontana del Colosseo: the vibe and pacing
- Colosseum stop: getting iconic angles without getting stuck
- Pantheon and the Roman Forum: classic geometry, real-world light
- Trevi Fountain and Piazza Navona: handling crowds and choosing the mood
- Castel Sant’Angelo at the end: closing shots with a new perspective
- What’s included (and what you’ll need to bring)
- Price and value: is $181 for 3 hours fair?
- Who this tour fits best (and who might want something else)
- Should you book the Rome Photography Masterclass?
- FAQ
- Is this a private tour or a group tour?
- Can I choose between a day or night photography session?
- Does the tour include a camera or tripod?
- What are the main photo stops during the 3 hours?
- Where does the tour start and end?
- Is transportation included?
Key takeaways before you book
- Choose day or night to match the kind of photos you want
- Private instruction means you get individualized feedback as you shoot
- Major landmarks plus lesser-known angles in one compact route
- 30 minutes per stop keeps momentum, but you won’t spend hours at each site
- Tripod is not included (you can request one)
- Mobile ticket + free admission for the stops help keep things simple
A 3-hour Rome photo masterclass with day or night options
Three hours sounds short, until you see Rome through a lens. This Rome photography masterclass is paced like a shooting session, not a sightseeing marathon. You’ll move from landmark to landmark while a professional guide focuses on what your camera sees and what you can do about it.
The big decision is day versus night. Day gives you crisp detail and easier exposure control—great if you want clean architectural lines at the Colosseum, the Pantheon, and the Roman Forum. Night shifts the challenge to low light and mixed lighting. That’s where a guided lesson can save time, since you can learn what settings to try instead of guessing.
For value, the structure helps. You’re not paying for a long day of vague “take pictures when you want” time. You’re paying for an organized run of photo stops with instruction built in.
You can also read our reviews of more private tours in Rome
Private coaching: how it improves your photos fast
The private format changes everything. With only your group, the guide can watch what you’re doing—your framing, your shutter choices, your timing—and adjust on the spot. That’s the difference between learning photography in theory and actually getting better while you practice.
In practice, this is where the lesson becomes useful for beginners. If you have little or no experience, you can get help starting from basics like how to stabilize your shot, how to read light, and how to think about composition before you press the shutter. If you already know your way around your camera, you’ll likely get targeted advice tied to the scenes in front of you—architecture, crowds, and dramatic angles.
A recurring theme from real experiences with this kind of teaching style is patience. One professional instructor associated with these sessions, Emanuele, is specifically noted for taking time to match the lesson to your skill level and the look you want—urban landscape style, architectural detail, street composition, or romantic shooting for couples. That matters because Rome is visual overload. A guide helps you choose what to emphasize.
Meeting at Fontana del Colosseo: the vibe and pacing
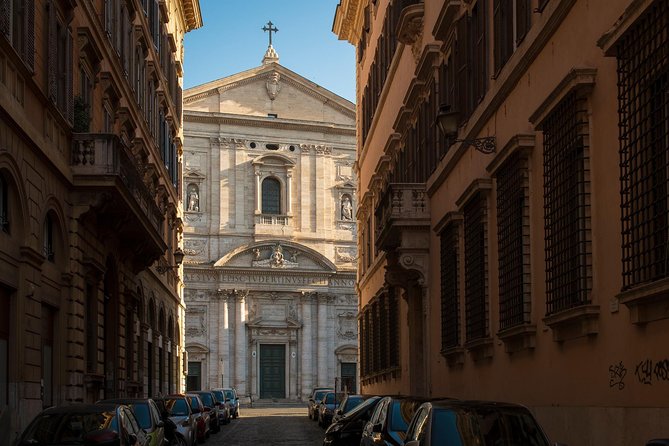
The tour starts at Fontana del Colosseo (00184 Roma RM) and ends back at the same point. That’s convenient for two reasons: you avoid juggling extra transit, and you can plan the rest of your day near the same area.
You’ll be close to public transportation, which helps if you’re mixing this with other plans. Since the duration is about 3 hours, expect a steady rhythm: quick segments to reposition, shoot, and adjust. The itinerary is structured as multiple stops with about 30 minutes at each, so you get enough time to try different angles without losing the thread.
Also, your session is listed in English, so you can ask direct questions about your camera and the why behind the settings. Bring your camera manual if you think it will help, but you can usually get far with hands-on coaching.
Colosseum stop: getting iconic angles without getting stuck
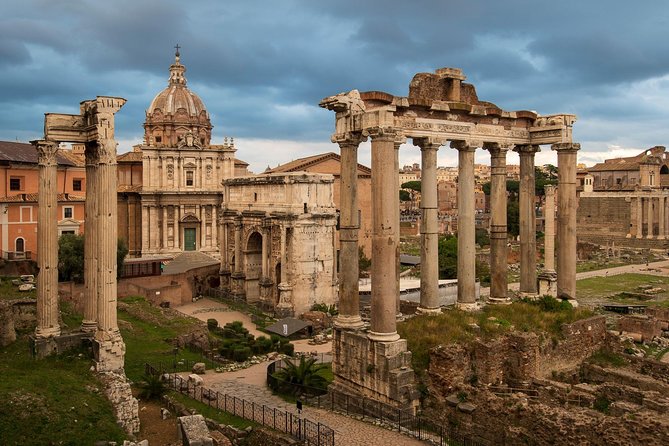
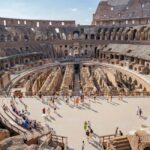
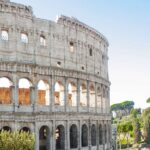
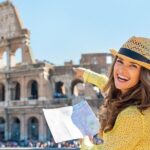
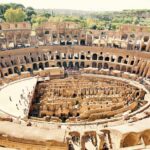
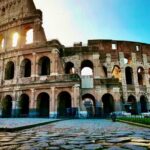
The first stop centers on the Colosseum. The format here is “we may pass by and photograph it,” so you’re not relying on interior access. That’s good if you want to spend your limited time learning camera technique rather than waiting in lines.
What you should focus on at the Colosseum is structure:
- Look for strong leading lines that pull the eye into the arches
- Try multiple focal lengths if you have zoom (wide exaggerates the scale; longer views compress layers)
- Pay attention to contrast—stone details can look flat if the exposure is off
Day sessions make textures easier to read. Night sessions can look dramatic, but the challenge is exposure and managing highlights from street lighting. This is where having a guide is practical. Instead of hunting for the right setting alone, you can test a few approaches and learn which ones work for this specific lighting.
You’ll also likely appreciate the way the route is designed. Starting here means you begin the tour with a clear “big wow” subject, then you use the rest of the lesson to build a toolkit you’ll apply at the Pantheon, Forum, Trevi, and beyond.
Pantheon and the Roman Forum: classic geometry, real-world light
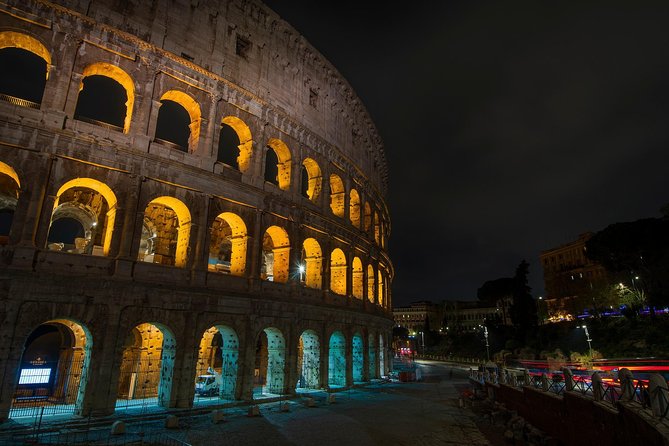
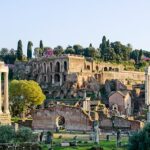
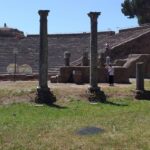
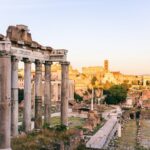
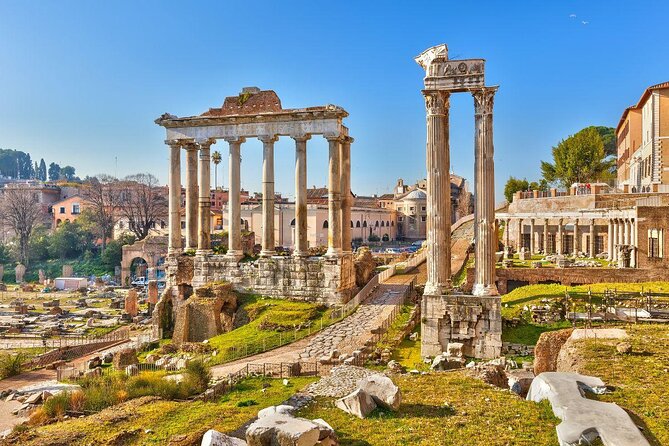
Next come the Pantheon and the Foro Romano (Roman Forum), each treated as another photo stop with time to shoot from nearby views. The Pantheon is one of those buildings that rewards discipline—symmetry, clean edges, and a huge visual anchor in every frame.
For photography, that usually means:
- Center it carefully (or break symmetry on purpose if that’s your style)
- Watch reflections and uneven light on stone
- Control your exposure so highlights don’t blow out in bright conditions
The Roman Forum adds a different kind of challenge: layered ruins, strong horizontals, and often busier visual clutter. If you like street photography or urban landscapes, this stop is where you can learn to “edit with your feet.” Move slightly left or right and suddenly the frame cleans up. A guide can help you spot the angles that hide distracting gaps and emphasize the shapes you actually want.
If you’re a beginner, this is also where you learn a key skill fast: don’t just shoot one “standard” picture. Try one setting change and compare the result. That turns the tour into real learning, not just a walk from monument to monument.
You can also read our reviews of more photography tours in Rome
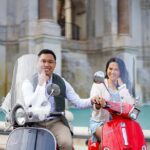
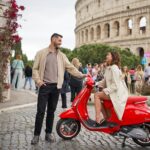
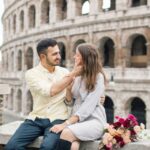
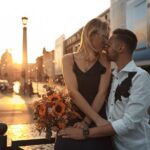
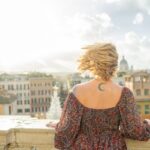
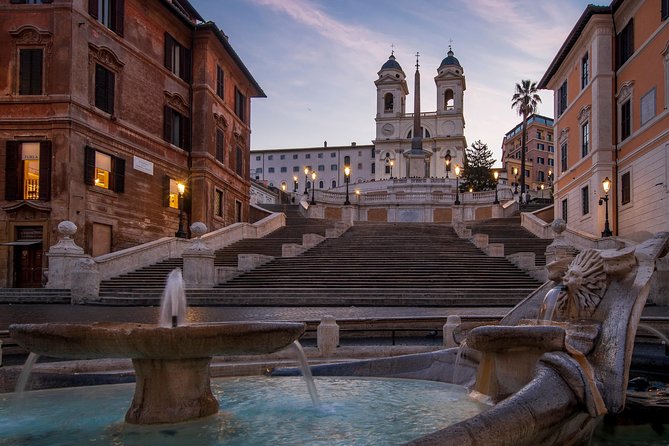
Trevi Fountain and Piazza Navona: handling crowds and choosing the mood
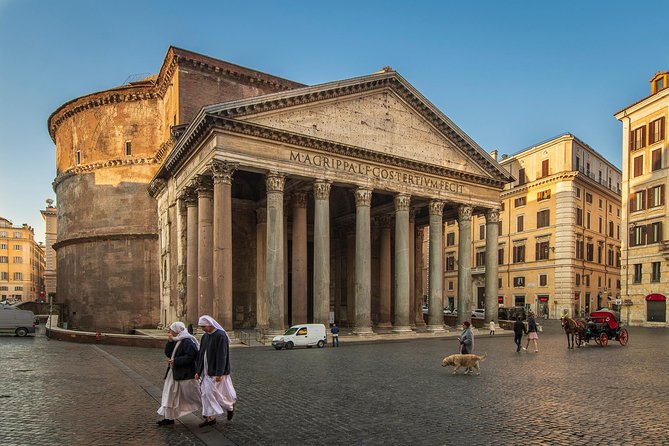
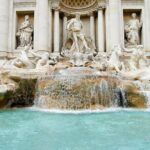
Then the route hits Trevi Fountain and Piazza Navona. These are famous for a reason, but they come with the classic problem: movement. People, umbrellas, street performers, and changing light all affect your shot.
This is where instruction pays off. You can learn how to create structure even when the scene is busy:
- Use composition choices to let the fountain stay the hero
- Try different shutter speeds if you’re working with a camera that supports it
- Frame so the background noise doesn’t swallow the subject
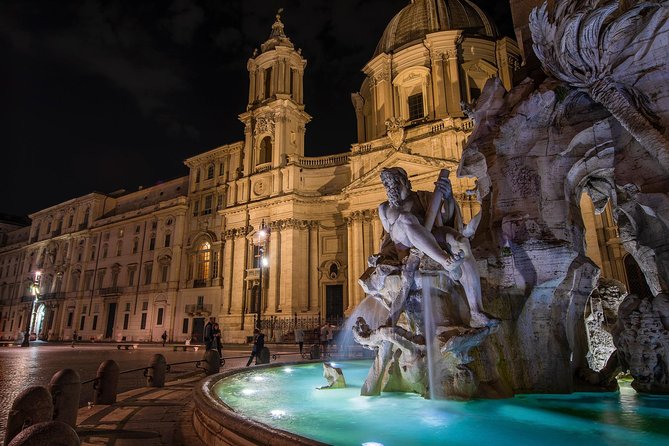
Night changes Trevi and Navona from postcard images into something more atmospheric—lights scatter across stone and surfaces, and the fountain becomes a focal glow. Day gives you clearer detail and easier color control. Either way, you’re getting a guided chance to test what happens when you change your approach.
One of the most useful practical details from real experiences with this style of Rome masterclass is that guides may find an especially good angle for Trevi, including a more unusual vantage point that still keeps the scene readable. That kind of help saves you time, because you’re not wandering randomly hoping you’ll stumble into a better shot.
Castel Sant’Angelo at the end: closing shots with a new perspective
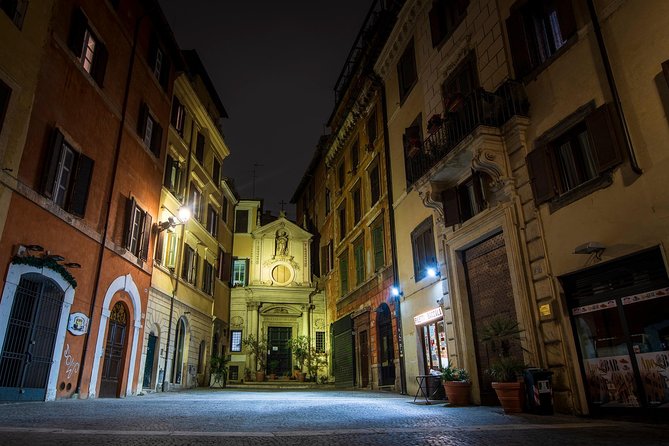
The last stop is Castel Sant’Angelo. By the time you get here, you’ve already practiced the basics across multiple iconic scenes. That makes the end of the tour useful: you can focus less on learning and more on applying.
If you choose a night session, this is where your photos can shift tone. You’ll likely experiment more with contrast, night exposure choices, and framing that emphasizes the castle’s silhouette and relationships to surrounding elements.
If you choose day, the castle can become a study in angles and edges—another chance to refine your composition.
Ending back near the start point also helps. You can keep shooting afterward if you want, but you won’t be stuck far away from transport or your next plan.
What’s included (and what you’ll need to bring)
This experience includes:
- A local guide
- A photography professional guide
- A private tour for your group
Mobile ticket is part of the deal, and the stops list admission ticket free for the time at each location. That’s useful because it helps you budget for what you’re doing: the lesson itself and your own gear.
Not included:
- Camera (bring yours)
- Transportation to/from attractions (the route is built around your ability to get between stops on your own)
- Tripod (available upon request)
If you’re serious about sharp night shots or steadier framing, consider asking about a tripod request ahead of time. Even if you don’t use one the whole tour, it can help you test long exposure or stabilize your composition.
Also, the tour is marked as most travelers can participate, and it runs in English. If your goal is to learn fast, that’s a good sign. You’ll get instruction without the guessing game.
Price and value: is $181 for 3 hours fair?
At about $181 per person for roughly 3 hours, the value depends on what you want out of Rome.
If your goal is standard sightseeing photos, this could feel pricey. But if your goal is learning—camera settings, composition, and how to work the city like a photographer—the structure starts to make sense. You’re paying for:
- A private setup (not a large group where questions get ignored)
- A professional photography guide who can adapt to your skill level
- Multiple landmark stops in a short timeframe, with dedicated photo time
The pricing also works better if you’re traveling as a pair or small group, since there’s group discount language attached to the experience. Even without assuming specifics, the private nature means you’re not fighting for attention.
In short: it’s best value if you want your photos to improve before you leave Rome, not just later when you start sorting 800 blurry shots.
Who this tour fits best (and who might want something else)
This is a strong match if:
- You’re a beginner and want clear steps instead of generic tips
- You want to shoot architecture and street-style composition
- You have limited time in Rome but still want a focused route
- You’d like photos that look intentional, not random
It may be less ideal if:
- You’re hoping for long interior visits and museum-style time (the stops are described as “pass by and photograph”)
- You expect transportation to be handled for you
- You don’t want to bring your own camera (since it isn’t included)
For couples, the guided “romantic spots” style of shooting—also mentioned by people who’ve done sessions with Emanuele—is a nice bonus. For families or mixed-skill groups, the private format helps the guide tailor the pace.
Should you book the Rome Photography Masterclass?
I’d book this if you want a hands-on lesson that uses Rome’s most photogenic landmarks as your classroom. The day/night option is a smart way to align the tour with your photography interests. And the private format is what turns it from a walk with stops into real skill-building.
Skip it—or look at another option—if your top priority is spending lots of time inside attractions. This route is designed for shooting from the outside and around the monuments, with instruction and framing choices guiding where you stand and what you try.
If you can bring your own camera, arrive ready to ask questions, and you like the idea of practicing for a few hours instead of only sightseeing, this is a very practical way to get better photos in Rome.
FAQ
Is this a private tour or a group tour?
This is a private tour/activity, meaning only your group will participate.
Can I choose between a day or night photography session?
Yes. You can pick a day or night tour depending on what you’re interested in photographing.
Does the tour include a camera or tripod?
No camera is included. A tripod is available upon request.
What are the main photo stops during the 3 hours?
The tour focuses on the Colosseum, Pantheon, Roman Forum, Trevi Fountain, Piazza Navona, and Castel Sant’Angelo.
Where does the tour start and end?
It starts at Fontana del Colosseo, 00184 Roma RM, Italy, and ends back at the same meeting point.
Is transportation included?
Transportation to and from attractions is not included.