REVIEW · ROME
Rome by Day, Beauty and History Unique Photo Tour and Workshop
Book on Viator →Operated by RomePhotoFuntours Giulio D'Ercole · Bookable on Viator
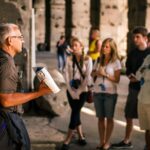
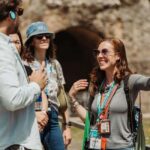
Rome can be a blur of monuments. This photo tour slows you down. You’ll walk Rome’s most famous streets with Giulio, a professional photographer, and learn how to take better pictures with an iPhone or Android plus a clear, friendly hands-on workshop. You’ll also get photo guidance tailored to your level, and you can even bring someone who just wants to enjoy the walk.
Two big wins for me are the practical camera settings and composition tips you apply right away, and the way the group stays small so Giulio can give real attention to your shots (not just talk at you). One thing to plan for: Rome is strict about dress at churches and some sites, so cover knees and shoulders or you may lose photo time at stops of worship.
In the end, you’re not just collecting sights. You’re leaving with a Rome set of images you’ll actually understand and remember.
In This Review
- Key highlights to watch for
- The smart value of a small-group Rome photo workshop
- Start at Ponte Sant’Angelo: the warm-up you need in Rome
- St. Peter’s Square: learn the shot before you chase it
- Castel Sant’Angelo and the Bridge of Angels
- Piazza Navona: fountains, churches, and people as your subject
- Pantheon from outside: light, lines, and quick timing
- Chiesa di Sant’Ignazio di Loyola: baroque art that demands closer attention
- The Victorian Ala Brasini complex: skyline photos with a different angle
- Piazza del Campidoglio: Michelangelo’s square and a built-in viewpoint
- Mercati di Traiano and Museo dei Fori Imperiali: ruins and scale
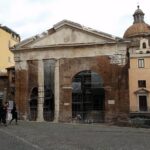
- Teatro di Marcello: small time, big payoff
- Antico Quartiere Ebraico and Campo de’ Fiori: corners, alleys, and street life
- Final stretch near the Colosseum: you end where Rome gets iconic
- What I think makes Giulio’s coaching work
- Quick tips before you go
- Should you book Rome by Day Photo Tour?
- FAQ
- Do I need a DSLR for this Rome photo tour?
- What if I’m traveling with someone who doesn’t want to take photos?
- Is there a camera rental option if I don’t have one?
- What does the tour include?
- Where does the tour start and end?
- What are the dress rules for churches and selected museums?
- How big is the group, and what language is used?
Key highlights to watch for
- Smartphone-first photo instruction (no DSLR needed, exposure and composition included)
- A pro who adjusts to your skill level, from first-timer to experienced shooter
- Iconic Vatican and Renaissance viewpoints fast, plus quick stops for the right angles
- Baroque interior art practice, where “one good photo” matters more than many snapshots
- Small group size (max 4) for more hands-on attention
- Non-photographers can join, with arrangements considered for spouses/partners/children
The smart value of a small-group Rome photo workshop
At $215.69 per person for about 4 hours, this isn’t a bargain “walk and listen” tour. It’s closer to paying for a private skill upgrade with a location-rich route. The value comes from two things: you get professional photo coaching during the walk, and the group stays tiny (up to 4). That matters in Rome, where the best angles can be crowded, and light changes quickly.
This tour also respects modern travel. No DSLR needed. If your phone is your main camera, this is built for you. And if you don’t have a camera at all, you can rent a Nikon kit (including tripods) for 50 euros per kit, paid in cash. That’s useful if you want the experience without carrying extra gear.
You’ll also want to know the pacing. Many stops are short—think 10 to 20 minutes—because the goal is to show you where to stand and how to shoot, not to turn the day into a museum marathon.
You can also read our reviews of more historical tours in Rome

Start at Ponte Sant’Angelo: the warm-up you need in Rome
The tour begins at Ponte Sant’Angelo (St. Angelo Bridge). This is a smart starting point because it gets you into “photo mode” while the city is still waking up. It’s also a classic Rome foreground: bridges, water edges, and monuments all give you strong framing options.
That first stretch is where you’ll do the workshop part. You’ll walk with Giulio through iconic squares and streets, and you’ll get hands-on guidance on things like exposure, camera settings, and composition. If you’ve ever wondered why one photo looks flat while another pops, this is the part that fixes that.
Practical note: you’ll be in walking shoes most of the time. The route is built for foot traffic between major sights, so plan for uneven sidewalks and occasional crowding near landmarks.
St. Peter’s Square: learn the shot before you chase it
Next you’ll head to St. Peter’s Square for about 20 minutes. The focus isn’t only “big basilica in the frame.” Giulio helps you make a set of images: the columned porticos, fountains, sculptures, Swiss guards, and the facade of the basilika.
This is a place where people overshoot. They stand in one spot, fire a bunch of pictures, and call it done. Here, the instruction pushes you to think in angles: where symmetry helps, how lines lead the eye, and how to manage bright stone and sky.
Also, the guide includes the admission ticket for this stop, so you’re not stuck sorting out what costs what while your group moves on.
Dress matters here. If you show up in shorts or a sleeveless top, you can risk being refused entry to places of worship and some selected museums. Knees and shoulders must be covered for both men and women.
Castel Sant’Angelo and the Bridge of Angels
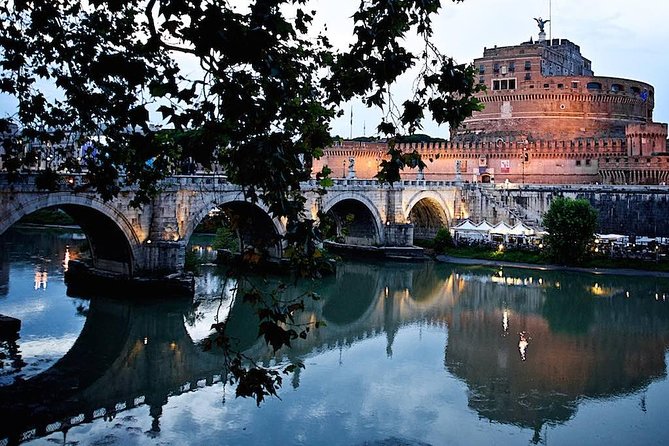
About 15 minutes takes you to Castel Sant’Angelo and the bridge of the Angels, with extra opportunities from the river shores. This stop works well for photographers because you get multiple layers of “depth.” Fortress structure in the center, bridge lines leading across, and the water edge giving you natural framing.
If you’re shooting on a phone, this is where you’ll appreciate the composition coaching. Even in quick time windows, you can refine the image by choosing a viewpoint that reduces distractions in the background.
A short stop like this can feel rushed if you’re not ready. The payoff is that Giulio shows you what to try first, so you waste less time hunting.
Piazza Navona: fountains, churches, and people as your subject
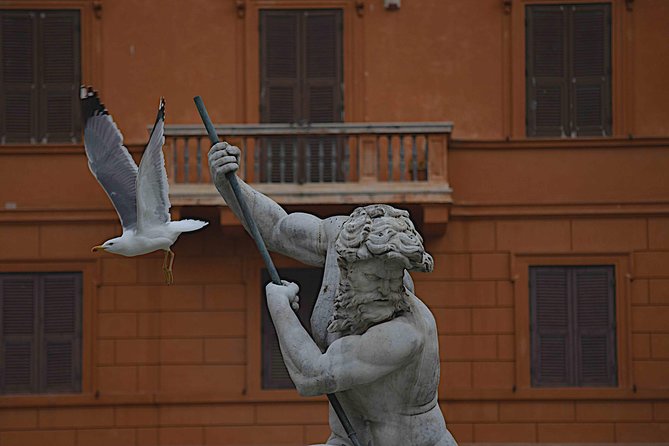
Piazza Navona gets around 20 minutes, and it’s a playground for photographers. You’ll shoot the square, the fountains, nearby churches, and the people moving through it.
This stop is different from the Vatican area. Instead of monumental symmetry, it’s motion. You’ll likely shift from “architecture shots” to “story shots,” including how crowds interact with the space. The practical tip here is to aim for photos that show scale and character, not just postcard buildings.
People can be a distraction if you let them. With guidance, you learn how to use movement rather than fight it—like waiting for a pause or placing figures to give your photo a sense of time and place.
You can also read our reviews of more photography tours in Rome
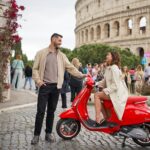
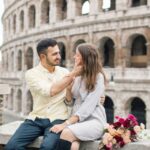
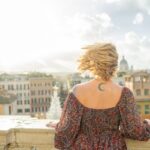
Pantheon from outside: light, lines, and quick timing
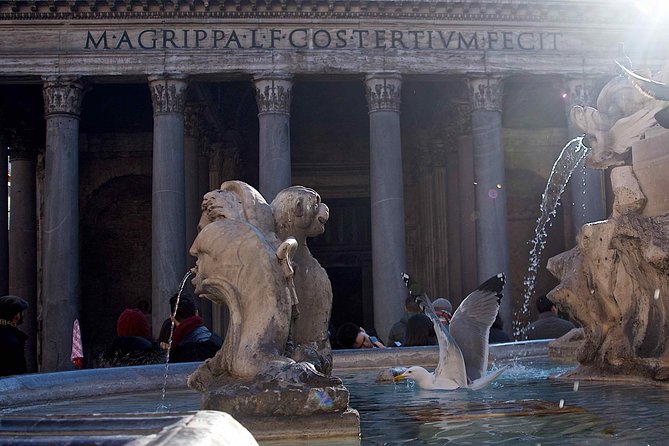
You’ll spend about 20 minutes on the Pantheon from outside, including the square, a fountain, people, and the building view itself.
This is one of those stops where lighting can make or break the shot. The key is timing and position. In a short visit, the best approach is to get set quickly and then adjust as the light shifts.
Don’t underestimate how useful a phone can be here. With the right exposure and composition choice, the Pantheon’s facade and the surrounding space can look dramatic without needing fancy gear.
Chiesa di Sant’Ignazio di Loyola: baroque art that demands closer attention
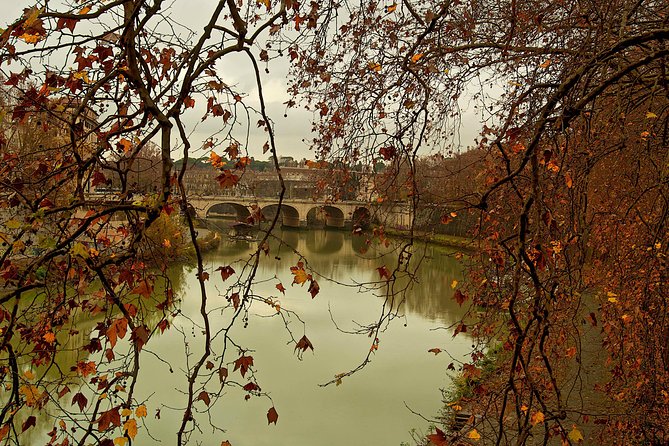
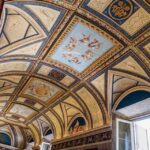
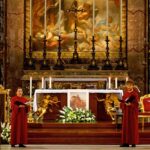
About 15 minutes goes to Chiesa di Sant’Ignazio di Loyola, where you’ll focus on sculptures, frescos, and baroque style.
This is a high-value stop for people who like interiors, because it teaches a different kind of photo thinking than outdoors. Indoors you have contrast, reflections, and lighting constraints. The good news: if you’ve been learning settings and composition from the start, this is where it starts to pay off.
Also, remember the dress rule. Churches don’t bend for your itinerary.
The Victorian Ala Brasini complex: skyline photos with a different angle
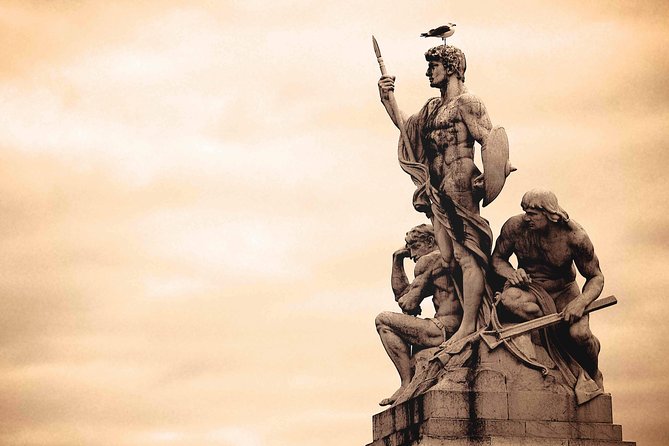
You’ll take around 20 minutes at the Complex of the Victorian Ala Brasini, aiming for shots of the monument, sculptures, and Rome skyline views.
The reason this stop is worth it is simple: it gives you variety. You get a different silhouette and a “Rome above the streets” feel. Even if you normally stick to classic monuments, this helps your photo set avoid looking like one long chain of the same perspective.
If the wind picks up or the lighting shifts fast, treat it like a practice session. Try two compositions, then move on.
Piazza del Campidoglio: Michelangelo’s square and a built-in viewpoint
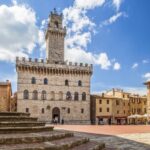
Piazza del Campidoglio takes about 20 minutes. You’ll photograph Michelangelo’s square, the Marco Aurelio statue, building facades, and you’ll also get a view over Rome.
This is one of those locations where the layout does some of the work for you. The key is learning to frame the statue and the surrounding facades so the viewer feels the geometry of the place.
Giulio’s teaching style is built for this kind of stop: he’s guiding where you stand and what to emphasize, which saves you time and keeps your shots from becoming random.
Mercati di Traiano and Museo dei Fori Imperiali: ruins and scale
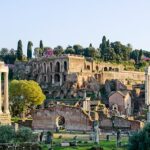
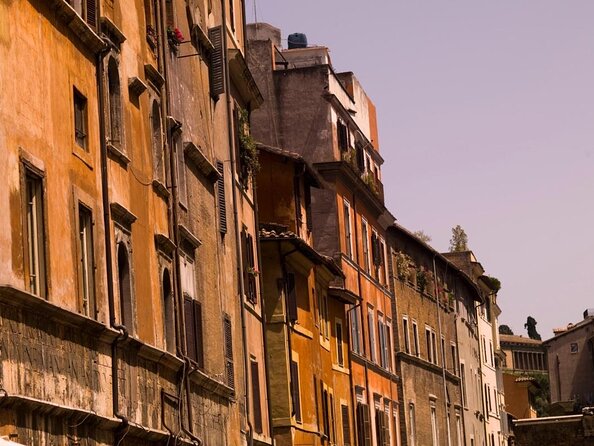
You’ll spend about 20 minutes at Mercati di Traiano – Museo dei Fori Imperiali, focusing on ancient ruins, Roman forums, Trajan markets, and the column, plus open views over the area.
Ruins are tricky because they can turn into “texture photos” that don’t show meaning. The coaching helps you choose what matters: lines that guide the eye, viewpoints that show scale, and angles that connect buildings instead of isolating fragments.
This stop also gives your photo set a strong historical contrast to churches and piazzas. It’s Rome in layers, not Rome in one mood.
Teatro di Marcello: small time, big payoff
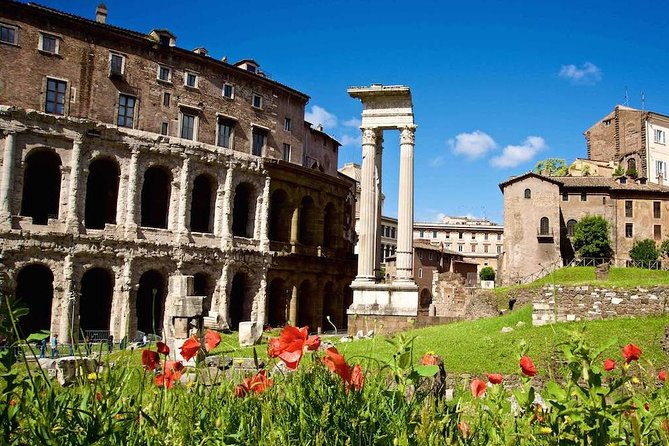
About 10 minutes at Teatro di Marcello is a quick punch of ancient architecture. With a stop this short, you’ll want to prioritize one or two strong frames rather than trying to photograph everything.
This is where your workshop pays off. If you understand exposure and composition, you can get a satisfying result fast.
Antico Quartiere Ebraico and Campo de’ Fiori: corners, alleys, and street life
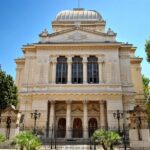
You’ll spend around 20 minutes in Antico Quartiere Ebraico, capturing characteristic corners, small alleys, and typical shops. Then Campo de’ Fiori for about 20 minutes, shooting a typical Roman market scene and nearby alleys.
These are the places where your photos become personal. You start capturing details: signs, textures, and the way people move through narrow passages. Giulio’s approach also tends to help you “read” the neighborhood so you know what to frame.
One caution: street scenes can lure you into nonstop shooting. Take a breath, choose one theme (people, detail, or architecture), and then shoot with intent.
Final stretch near the Colosseum: you end where Rome gets iconic
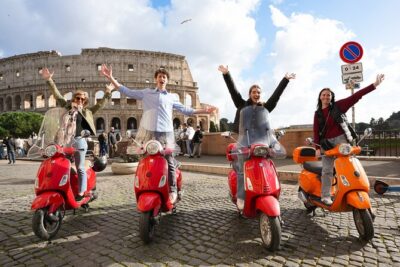
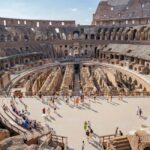
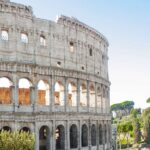
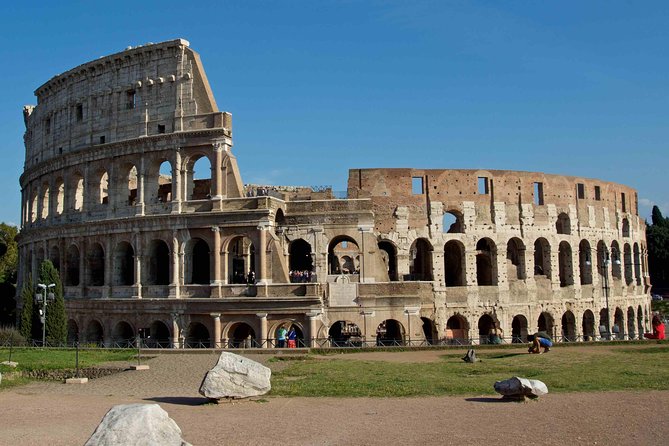
The tour ends near the Colosseum, at Piazza del Colosseo on via dei Fori Imperiali, close to the subway stop, Line A.
Ending here is practical because it plugs you into the next part of your day. If you want to visit specific museums or archaeological sites like the Roman Forums and the Colosseum, the tour says availability can’t be checked without booking. In other words: this experience sets you up with the right route and photo eye, and then you can add more if you want.
What I think makes Giulio’s coaching work
From what you can expect, the big reason this tour scores so high is that you don’t just get directions. You get instruction that fits the reality of travel.
Giulio’s teaching is designed to work across skill levels. If you’re a beginner, you’ll get the basics in a way that connects to the scene in front of you. If you’re more advanced, you can focus on settings and framing decisions rather than repeating beginner advice.
There’s also a cultural layer. Along the way, you’ll hear explanations tied to what you’re photographing, which helps your pictures feel more grounded than random snapshots.
And if you’re American and want context as you walk, this style can be especially helpful. The route is iconic, but the meaning behind the buildings isn’t treated like trivia.
Quick tips before you go
- Pack a shirt that covers your shoulders and shorts that don’t expose your knees, especially for churches.
- Charge your phone. Carry a small power bank if you can.
- Wear comfortable shoes. Rome floors don’t care about your shot plan.
- If you’re renting equipment, bring cash for the 50 euro Nikon kit.
- Don’t try to shoot every stop the same way. Each location wants a different approach.
Should you book Rome by Day Photo Tour?
Book it if you want Rome photos that look deliberate, not just collected. This is especially worth it for smartphone photographers who want clear guidance on exposure and composition while walking through Vatican-era sights, baroque interiors, and ancient ruins.
Skip it if you’re only looking for a long, slow sightseeing day with minimal standing still for photo coaching. The stops are short on purpose, and you’ll be moving often.
If your goal is to leave Rome with images you understand—framed with intention and guided by a pro—this one makes a lot of sense for your time.
FAQ
Do I need a DSLR for this Rome photo tour?
No. It’s set up for smartphone photographers too, including iPhone and Android.
What if I’m traveling with someone who doesn’t want to take photos?
Non-photographing partners or spouses can be accommodated, and arrangements can be considered for children who join as guests.
Is there a camera rental option if I don’t have one?
Yes. You can rent Nikon gear plus tripods for 50 euros per kit, paid in cash.
What does the tour include?
You get a professional photographer guide, and the tour can handle non-photographing companions with arrangements considered.
Where does the tour start and end?
It starts at St. Angelo Bridge (Ponte Sant’Angelo) and ends at Piazza del Colosseo, close to the subway stop Line A.
What are the dress rules for churches and selected museums?
A dress code is required for places of worship and selected museums. Knees and shoulders must be covered. You may be refused entry if you don’t meet the requirement (shorts and sleeveless tops are usually not allowed).
How big is the group, and what language is used?
The group has a maximum of 4 travelers. The tour is offered in English, and the guide may be multi-lingual (English, French, Italian, basic Spanish).