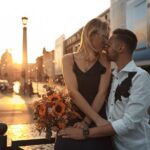
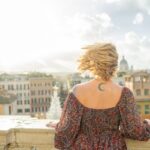
Photo missions in Rome beat selfies any day. You start at the Colosseum and move fast between postcard stops, with a guide adding stories so your pictures mean something. The payoff is a set of professional-grade photos you can actually use, not blurry proof shots.
I love the way this tour turns Rome into a focused, guided photo plan. You get clear direction on how to pose and where to stand, so you spend your time shooting instead of guessing. I also like that the group is kept small, which means you get attention without feeling rushed or lost.
One thing to consider: it’s still Rome, so you’ll walk a bit between major sights. Wear comfy shoes, and be ready for uneven ground around the landmarks.
In This Review
- Quick hits before you shoot
- Finding your spot: the meeting point and the flow
- Colosseum posing: where your shoot starts big
- Roman Forum and Piazza Venezia: photos that feel different
- Trevi Fountain: the wish, the water, and the close-up opportunities
- Pantheon: when the photos get calmer
- The pro factor: how you actually get better photos
- Timing and walking: a 90-minute hit that still asks for stamina
- English guide + stories that make your photos more than souvenirs
- Price and value: what $110.78 gets you in real terms
- Who this tour fits best
- Should you book this Rome professional photographer tour?
- FAQ
- How long is the Rome photo tour?
- Where does the tour start?
- Where does the tour end?
- Is the tour offered in English?
- Do I get a mobile ticket?
- What happens if the weather is bad or I need to cancel?
Quick hits before you shoot
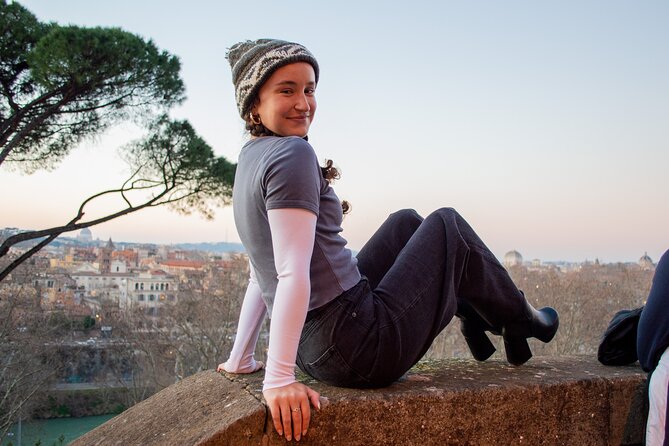
- Colosseum start gives you a big, dramatic backdrop right away
- Roman Forum ruins + classical angles help you vary your photo style fast
- Trevi Fountain water + sculpture details are made for close framing and motion shots
- Pantheon dome views shift the mood to calmer, cleaner compositions
- Small group max 8 keeps the pace manageable and the guidance more personal
- Pro camera gear means your final photos look sharper and more polished
Finding your spot: the meeting point and the flow
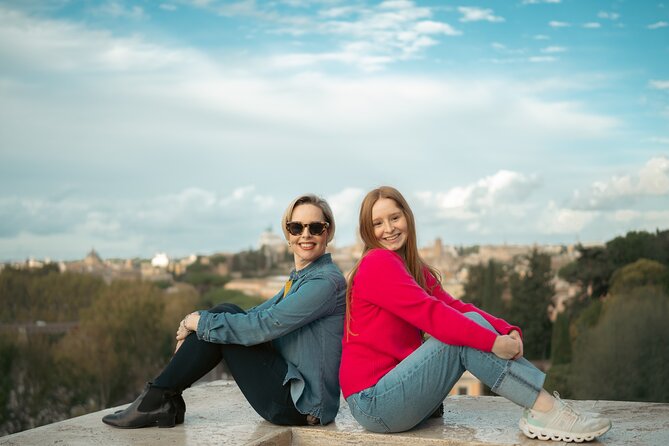
This photo tour is built for momentum. You meet at Via del Colosseo, 31 (near the Colosseum area), and the activity ends back at the same place. That matters because it keeps logistics simple when you’re bouncing between big sights.
It’s offered in English, and you’ll get a mobile ticket, so there’s no scramble for printouts. The group is capped at 8 travelers, which is a real quality-of-life upgrade in Rome. With fewer people, you’re less likely to be stuck waiting your turn for a pose.
Also, the tour notes good weather is important. If weather turns rough, you’ll be offered a different date or a full refund. Plan to dress for conditions so you can keep your pace without feeling miserable.
You can also read our reviews of more photography tours in Rome
Colosseum posing: where your shoot starts big
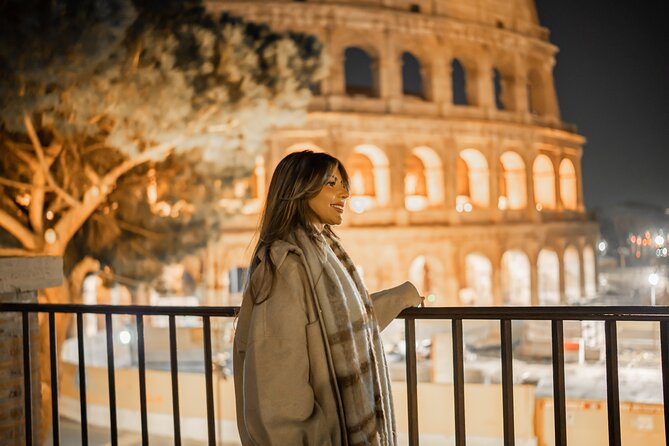
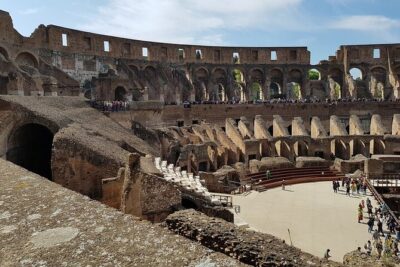
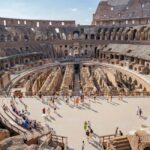
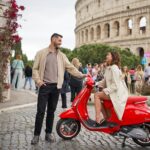
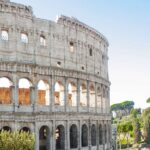
You kick things off at the Colosseum. Not just the idea of it, but the actual arches and grandeur that make your photos instantly look like Rome. This is your warm-up moment, and it’s also where the guide sets the tone for the session.
Here’s what I like about starting here: the landmark is so recognizable that even simple posing turns into a great picture. The pro photographer setup helps you avoid the common Rome problem—standing in the right place but framing the shot poorly. You’ll get direction to help you place your body, angle your face, and work with the space around you.
A practical tip: come ready to move. Even within the first stop, you’ll likely shift positions for better backgrounds and angles. If you’re wearing shoes that hurt after 10 minutes, save yourself the regret and wear something comfortable.
Roman Forum and Piazza Venezia: photos that feel different
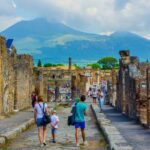
Next you head to the Roman Forum, where ancient ruins and classical architecture offer compositions that look totally different from the Colosseum. This stop is where your photos start to show variety instead of repeating the same wide landmark shot.
Then you go to Piazza Venezia / Ancient City. This is a strong pairing because it breaks up the textures: you move from big stone fragments and columns to an area with a more urban, storybook feel for framing. Even if you’re not a history expert, the guide’s explanations help you connect the visuals in your camera roll.
The biggest value here is the pacing. Instead of spending hours trying to plan your own mini photo route, the tour gives you a shortcut. You get a sequence of photo-friendly scenes that naturally vary in background, lighting, and architectural shapes.
Trevi Fountain: the wish, the water, and the close-up opportunities
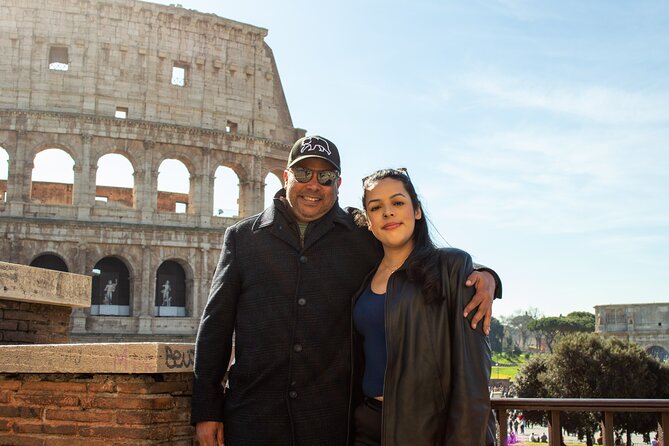
Trevi Fountain is one of those places where you can either get swept up in crowds or use a plan. This tour guides you through the right photo moments, including the chance to make a wish for good fortune at the fountain.
What makes this stop camera-worthy is motion and detail at the same time. The cascading waters and intricate sculptures let you do both: sharp portraits with the fountain as a backdrop, and more focused shots where the stonework and water texture are the star.
One thing I’d keep in mind: Trevi can be busy. So you’ll want to follow the photographer’s cues quickly. If you hesitate, you’ll lose the clean background you were aiming for. Your best strategy is to stay flexible, trust the framing advice, and be ready to reposition fast.
Pantheon: when the photos get calmer
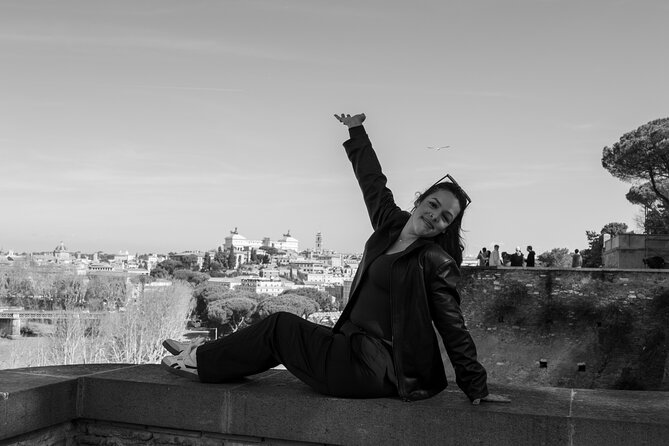
You finish at the Pantheon, and the mood shifts. Instead of chasing the biggest spectacle, you’re working with a more serene atmosphere and the dome’s majestic shape. It’s a classic closing point because the composition feels complete and elegant.
This stop also tends to reward calm posing. For the kind of photo that looks like you spent time there (even if the tour moves briskly), it helps to slow your movement just a touch. The photographer’s direction should help you land a pose that looks natural rather than stiff.
By the time you reach the Pantheon, you’ve already built momentum through the earlier landmarks. That makes the final stop feel like a payoff: you get a strong Rome finale photo without needing extra planning afterward.

The pro factor: how you actually get better photos
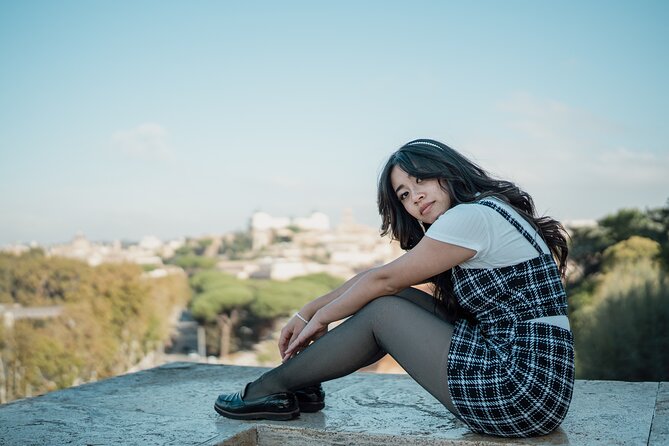
The headline promise is professional photos captured on professional camera gear. In practice, the real benefit is what that gear plus guidance does for your results.
First, the photographer knows how to work with famous backgrounds. That means you’re not just taking pictures in front of icons; you’re being guided to capture flattering angles, better framing, and clearer focus.
Second, the session is designed to make you feel at ease. One reviewer praised Emil for being super professional and personable and for making the whole experience feel comfortable. That matters because the easiest way to ruin a portrait photo is to tense up and try too hard.
Third, I like that the photos are described as gorgeous and delivered quickly. If you’re the kind of person who wants your Rome memories while you still remember where the good moments felt, that turnaround helps.
And yes, it’s still a walking tour with photos. You’ll get the best results if you treat it like a guided photo shoot, not like sightseeing with pictures scattered in.
Timing and walking: a 90-minute hit that still asks for stamina
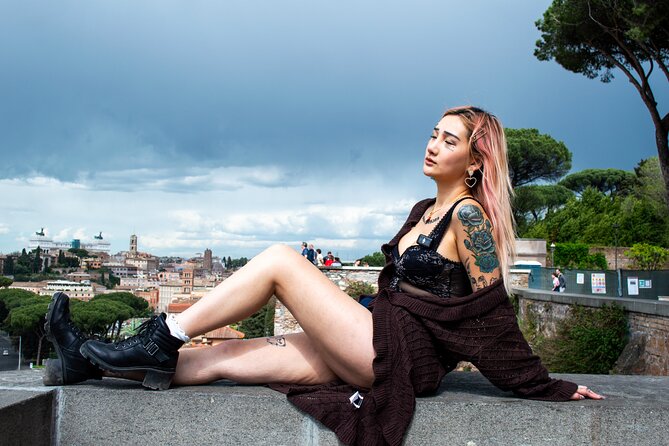
The duration is about 1 hour 30 minutes. That’s a sweet spot: long enough to hit several major stops and get real variety, short enough that you’re not committing your whole day to one plan.
But it’s not a sit-and-look tour. You’re moving between big landmarks, and one reviewer specifically advised to wear comfortable shoes because you walk to multiple locations. That advice is spot-on. Uneven pavement, stairs, and crowd flow can make the route feel longer than you expect.
My practical take: wear supportive shoes, keep your water simple, and don’t pack your day full of heavy plans right before or right after. If you’re doing the next thing immediately after, give yourself a little buffer to avoid sore feet ruining your afternoon.
English guide + stories that make your photos more than souvenirs
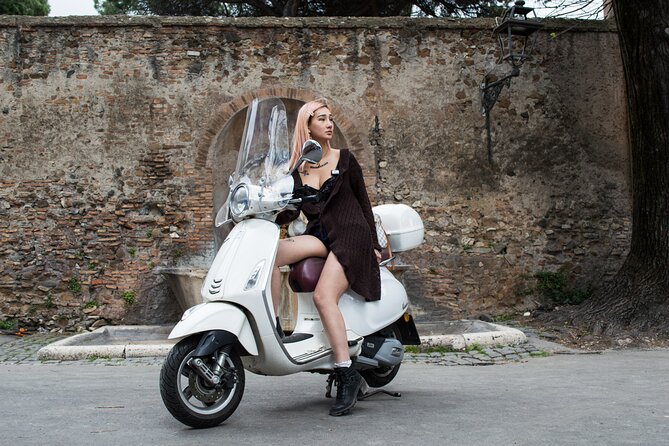
You don’t just get a camera session. You also get historical and cultural context along the way, plus intriguing stories at each location. That’s a major difference between a photo walk and a true guided experience.
One reviewer mentioned Autumn as a guide who was lovely, very fun, and shared lots of fun facts, including Roman cuisine details. Even if your interests are more architecture than food, the point is the same: the guide gives you something to remember besides the photo’s background.
That matters for two reasons. One, it helps your brain connect the landmarks as you’re standing in front of them, so the visit feels more meaningful. Two, when you know what you’re looking at, you’re more likely to pose and shoot with confidence instead of just reacting.
Price and value: what $110.78 gets you in real terms
The price is $110.78 per person, and it’s worth evaluating based on the deliverables, not just the duration.
You’re paying for four main things:
- A guided, curated route through major photo stops instead of you planning it on the fly
- A small group size (max 8), which boosts attention and reduces chaos
- A professional photographer using professional camera gear
- Final photo output that’s described as gorgeous and delivered quickly
For a fast, concentrated Rome photo session, this can be good value—especially if you want images that look polished without needing to hire a photographer privately and then figure out every logistics step yourself.
If your goal is purely to snap quick shots with your phone, a DIY walk will cost less. But if you want the kind of photos you’ll actually share, print, or use as real travel keepsakes, paying for pro guidance is where the value shows up.
Who this tour fits best
This is a good match if you want Rome photos without spending your time building an itinerary. It’s also ideal if you’d rather have someone else handle the shot planning—where to stand, how to pose, and how to work with the landmark backdrop.
It also suits couples and friends who want natural-looking portraits together. The small group size helps keep the energy manageable and reduces long waits at each stop.
If you have zero interest in posing and just want to roam, you might find the guided structure a bit limiting. But if you like being directed and you want results fast, this tour style fits well.
Should you book this Rome professional photographer tour?
I’d book it if you want high-quality Rome photos from iconic locations—without the stress of planning a route, fighting for the best angles alone, or worrying about whether your camera skills will deliver. The combination of pro gear, a small group, and a route that hits Colosseum, Roman Forum, Trevi Fountain, and the Pantheon in a tight 90-minute window is exactly the kind of practical help that makes a city trip easier.
I’d skip or rethink it if walking and standing for photo setups sounds exhausting, or if you only want phone snaps. Also, if you’re visiting with unstable weather, remember this experience requires good weather and adjusts if it can’t happen as planned.
If you want a confident photo plan and polished results, this is a strong, straightforward choice.
FAQ
How long is the Rome photo tour?
It’s about 1 hour 30 minutes.
Where does the tour start?
You start at Via del Colosseo, 31, 00184 Roma RM, Italy.
Where does the tour end?
The activity ends back at the meeting point.
Is the tour offered in English?
Yes, it’s offered in English.
Do I get a mobile ticket?
Yes, it includes a mobile ticket.
What happens if the weather is bad or I need to cancel?
The experience requires good weather. If it’s canceled due to poor weather, you’ll be offered a different date or a full refund. You can cancel for free up to 24 hours in advance for a full refund.