REVIEW · ROME
Rome, Private Sunset and Night Photography Guided Tour
Book on Viator →Operated by Rome Photography Tours · Bookable on Viator
Sunset turns Rome into a camera class. This private 3-hour walk mixes sunset photography with real night shooting techniques, guiding you to photogenic landmarks and teaching you how to keep photos sharp in darker light. It’s built for first-timers and for photographers who want better results after dark.
I especially like that the guide works with what you’re using, whether it’s an iPhone, point-and-shoot, or an SLR, and then gives practical instruction you can apply right away. I also like the rhythm: short stops where you shoot, adjust, and learn instead of standing around. The main thing to consider is that some stops have admission not included, so you may need tickets for the Pantheon and Sant’Angelo.
In This Review
- Key Things to Know Before You Go
- Why This Rome Sunset Photo Lesson Feels Different Than a Standard Tour
- Meeting at Largo di Torre Argentina: Timing, Weather, and What to Bring
- Pantheon at Dusk: Learning Low-Light Shooting on a Real Icon
- Piazza Navona: Fast Compositions and Clean Framing
- Via dei Coronari: Using Streets as a Photo Toolkit
- Sant’Angelo: Where Long Exposures Make Sense
- St. Peter’s Square: Shooting Bright Lights Without Blowing Them Out
- Campo de’ Fiori: Night Street Energy and Easy Subjects
- Area Sacra di Largo Argentina: Details That Reward Careful Looking
- What the Guides Like Antonio and Luigi Actually Teach You
- Price and Value: Is $216.29 Worth It?
- Who This Tour Fits Best (and Who Might Not)
- Should You Book This Rome Sunset Photography Tour?
- FAQ
- How long is the Rome private sunset and night photography guided tour?
- Where is the meeting point, and does the tour return you there?
- What time does the tour operate?
- Is it a private tour?
- What is included, and what should I bring?
- Are any admissions included?
Key Things to Know Before You Go
- Private, flexible coaching: Only your group joins, and the tour is customized to your level and gear.
- Low-light and long-exposure instruction: You’ll focus on what to change when the light drops.
- Tripod help if you need it: A tripod is provided if you don’t have one.
- Icon stops with smart time limits: Photo opportunities are short so you keep moving and shooting.
- Some admissions are on you: Pantheon and Sant’Angelo are not included; others are free.
- Works with many camera types: The guide helps with iPhone, compact cameras, and SLRs.
Why This Rome Sunset Photo Lesson Feels Different Than a Standard Tour
This isn’t a sightseeing shuffle where you just point your camera and hope. The value here is the teaching. You’re led from spot to spot while learning how to see light and frame scenes so they look like you intended, not like a happy accident.
The sunset-to-night timing matters. Early on, Rome’s stone looks warm and forgiving. Then it gets darker fast, and that’s where the instruction pays off. You’ll practice the transition: how to keep exposures under control, how to plan for longer shutter times, and how to compose when the sky is no longer helping.
I also like that it’s designed to meet you where you are. If you’re brand new, you’re not drowned in jargon. If you already shoot, the guide can still help you refine choices for night work, like how to set up for steadiness and cleaner images.
One small reality check: you’ll be out during evening hours. That means you’ll want comfortable shoes and a steady pace, because you’ll walk between multiple iconic photo stops.
You can also read our reviews of more guided tours in Rome
Meeting at Largo di Torre Argentina: Timing, Weather, and What to Bring
The tour starts at Largo di Torre Argentina, 8 (near public transportation), and it returns you to the same meeting point. The listed time window runs Monday through Sunday from 7:30 PM to 10:30 PM, so you get both the last light of sunset and enough darkness for night shots.
Plan around the weather. The experience requires good weather, and if it’s canceled due to poor conditions, you’ll be offered a different date or a full refund. In practical terms, you’ll do better to check forecasts the day of and have a backup mindset.
What to bring is simple and camera-focused:
- Your own camera (the tour requires it)
- If you don’t have one, you can rely on the provided tripod
- Whatever you normally use to shoot (iPhone is fine too)
Because this is a night photography experience, I strongly recommend you bring at least one backup battery and keep your phone/camera charged. Low light is fun, but it eats power. Also bring a small cloth or tissue for lens smudges. Street air and fingerprints are real.
Pantheon at Dusk: Learning Low-Light Shooting on a Real Icon
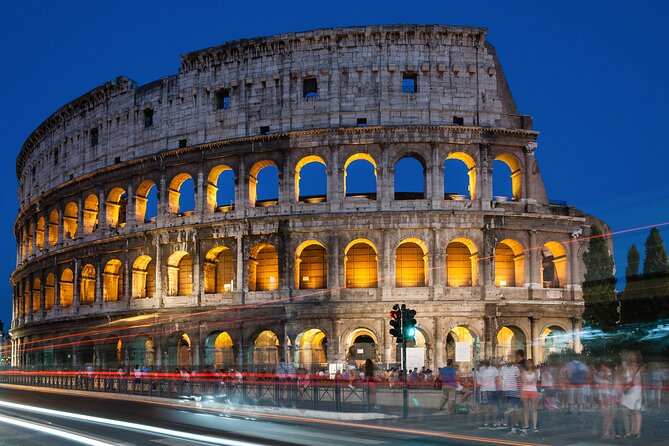
Your first stop is the Pantheon area, with about 20 minutes for photo opportunities. Admission isn’t included here, so if you want to go inside, you’ll need to buy your own ticket. Even if you mostly shoot the exterior and surrounding views, this stop still works because the light is dramatic and the geometry is easy to frame.
The practical benefit of starting here is timing. The scene is photogenic before the light fully drops, so you can practice what your settings do in the “in-between” phase. That’s the moment many people struggle with: your camera meter starts to guess, and your photos can go too dark or too noisy.
This is where the coaching matters. You’ll get direction on how to handle low light and long exposure ideas, like when to use steadiness and when to adjust your exposure so the image doesn’t look muddy. If you’re shooting an iPhone, you’ll still get help figuring out how to compose and use the right approach for darker scenes.
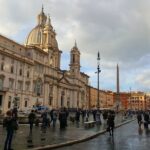
Piazza Navona: Fast Compositions and Clean Framing
Next up is Piazza Navona, again with about 20 minutes. Admission is free, which is helpful when you want to spend time shooting rather than budgeting time for entry.
This square is ideal for practicing composition quickly. At night, the building edges, fountains, and street lighting give you strong lines that lead the eye. In a lesson like this, that’s gold, because you can test ideas fast: move a few steps, change your angle, and see what happens to brightness and contrast.
If you’re a beginner, you’ll learn how to simplify what you see. If you’re more experienced, you can treat it like a mini lab. Try different focal lengths (or different framing on an iPhone), then compare what looks balanced versus what looks overly bright.
And because the tour keeps stops short, you won’t feel stuck waiting for the “perfect” shot. You’ll shoot, adjust, and move on, which is exactly how you learn at night.
Via dei Coronari: Using Streets as a Photo Toolkit
You’ll then head to Via dei Coronari for about 10 minutes of photo time. Admission is free, and the short stop is actually a good thing. Smaller windows of time force you to make decisions: which direction to shoot, what to include, and what to leave out.
This street-style scene is useful for learning the basics of night photography beyond big monuments. On streets, your photos can easily become messy—bright lights here, dark shadows there, and lots of visual distractions. A guide helps you choose what matters.
I like this part because it’s a reminder: you don’t need only famous buildings. You can make strong photos from the way light hits surfaces, the rhythm of doorways, and the angle of the street itself. Even if you’re traveling with a friend and you both want different results, coaching helps you get there.
You can also read our reviews of more private tours in Rome

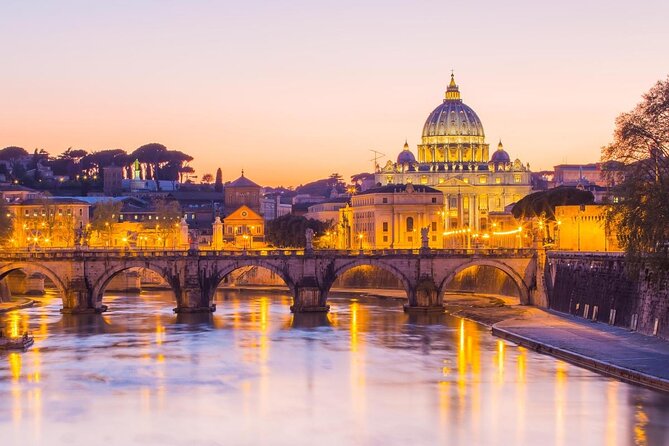
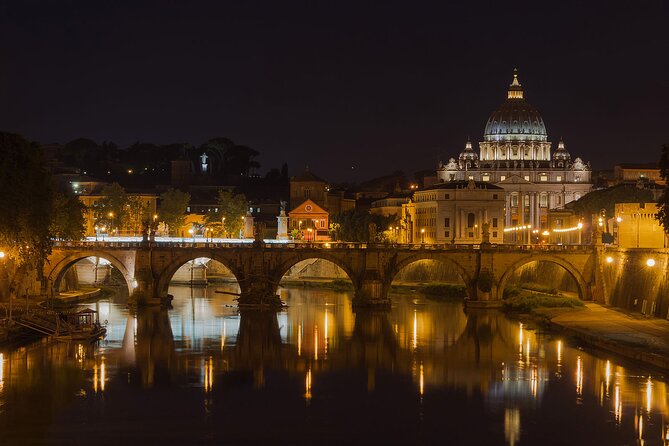
Sant’Angelo: Where Long Exposures Make Sense
The tour continues toward Sant’Angelo with about 20 minutes for photo opportunities. Admission isn’t included for this stop, so plan accordingly if you want to enter areas tied to tickets.
This is the type of location where night photography advice becomes very practical. Areas near bridges and the river-side vibe often reward long exposures because you can capture motion and smooth light in ways that look more cinematic. In the guidance from experienced guides on this kind of route, you’ll likely get tips that relate to steadiness and exposure control—exactly what you need when the light is low.
One thing I’m always honest about with night shooting: long exposures can be frustrating at first. If your hands aren’t steady, photos can blur in the wrong way. That’s why having instruction matters more than having equipment. If you don’t have a tripod, you may still be able to shoot, but this is where the tripod support becomes a big deal.
Also, as you shoot around sunset and into night, keep an eye on how quickly your scene changes. Rome won’t wait for your camera settings. The best learning happens when you adjust in real time.
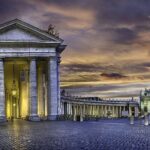
St. Peter’s Square: Shooting Bright Lights Without Blowing Them Out
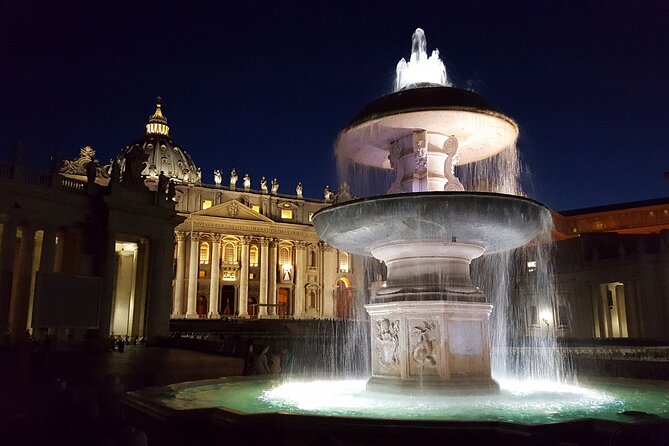
St. Peter’s Square is next, with about 20 minutes for photos. Admission is free for the stop.
This is one of the trickiest places to photograph at night because the scene mixes big dark areas with bright highlights—lights on stone, glowing facades, and strong contrast. If your exposure is too high, highlights can wash out. If it’s too low, the shadows disappear into darkness.
This is where the lesson style pays off. Instead of telling you to memorize a setting, you’ll learn what to watch for. You’ll get help thinking about exposure choices for low light and how to make the brightest parts look intentional rather than blown out. With an iPhone or compact camera, the issue is often different, but the goal is the same: keep highlights under control and keep key details visible.
Also, you get real time here to experiment. Many tours rush this area. Here, you’re given enough minutes to try a few approaches and still move with the group.
Campo de’ Fiori: Night Street Energy and Easy Subjects
Campo de’ Fiori follows with another 20 minutes of shooting. Admission is free.
This kind of stop is great for practicing what you’ll do in the rest of the trip. Once you’ve learned low-light thinking, you want to apply it to normal street scenes, not only monuments. Campo de’ Fiori offers lots of visual anchors—street corners, building fronts, and lighting cues—so you can practice steady framing without overthinking it.
If you’re a beginner, you’ll benefit from learning how to control brightness and make your photo readable. If you’re more advanced, you can explore how different angles change the look of shadows and the perceived depth in a night scene.
This is also where you can check your comfort level with your camera or phone. By this point you’ve had multiple stops to learn quickly. You can choose to refine, or you can switch to shooting more freely with what you’ve already picked up.
Area Sacra di Largo Argentina: Details That Reward Careful Looking
You’ll finish at Area Sacra di Largo Argentina, with about 20 minutes for photos. Admission is free.
This stop feels more intimate than some of the bigger landmarks, which makes it a good end-of-tour location. After hours of moving through iconic places, it helps to have something that rewards attention to texture and smaller visual elements.
Night photography often comes down to tiny decisions: which corner is the strongest, where you place bright points, how you keep the framing clean. Largo Argentina is a chance to practice those choices under evening lighting.
Also, this ending works well psychologically. You’re likely to leave the tour with a mix of wide shots and more detailed images. That matters because most people want variety in their photos. This stop gives you that chance without dragging the whole evening out.
What the Guides Like Antonio and Luigi Actually Teach You
The biggest reason people rate this tour so highly is the teaching style. Guides like Antonio and Luigi are described as patient and supportive, taking time to explain how to shoot in simple terms and then giving you space to try it on your own.
That combo is key. If instruction comes without practice, it won’t stick. If practice comes without guidance, you can end up repeating the same mistakes. Here, you get both.
You’ll also learn techniques aimed at night results, including long-exposure thinking and low-light adjustments. And the guide helps with different devices, not just “camera people.” That’s why an iPhone user can still feel like they’re part of the lesson, not watching someone else shoot.
Another small but important detail: tripod use. If you don’t have one, you’ll be supported with a tripod. If you do have one, you can use what you’re comfortable with. Either way, you’re not forced to guess your way through the biggest challenge of night work: keeping the camera still enough for sharper images.
Price and Value: Is $216.29 Worth It?
At $216.29 per person for about 3 hours, the price is not “cheap,” but it can be strong value—mainly because it’s private and focused.
Here’s why it can feel worth it:
- Private format: Only your group participates, which means the guide can tailor tips to your gear and experience.
- A real lesson, not just a walk: You’re learning low light and long exposure concepts you can reuse on your own later.
- Tripod provided if needed: That small cost can matter if you don’t already own one.
- Icon-level locations: You’re guided to multiple famous spots in one evening, without having to plan each shot yourself.
Where the math may feel different for some people: if you already know night photography well and you only want general sightseeing, a focused lesson might cost more than you need. Also, if you choose to add Pantheon and Sant’Angelo admissions, those tickets can add to your total.
Still, for beginners who want better pictures fast, and for intermediate shooters who want a night workflow, the value usually lands.
Who This Tour Fits Best (and Who Might Not)
This is a great match if you want:
- A structured night plan instead of wandering and guessing
- Help learning how to shoot in low light and plan for longer exposures
- A guide who adapts to your camera, whether it’s a phone or a traditional camera
- Photos that look intentional, with less trial-and-error
It might be less ideal if:
- You only want free, quick photo stops and don’t care about technique
- You’re already very confident with night settings and want pure sightseeing time
- You’re unwilling to walk at night or deal with variable light conditions
If you’re traveling as a family, the guide’s patient approach can be a plus, especially when kids are curious and you want them to leave with something they can actually practice later.
Should You Book This Rome Sunset Photography Tour?
I’d book it if you care about getting photos that look better than your usual vacation shots—and you want a plan for the moment the light changes. The guided coaching, the low-light focus, and the mix of landmark and street-level subjects give you images you can actually build on back in your room.
I’d also book it if you’re not sure what settings to use at night. The tour’s format is built for learning in the field: brief photo time, immediate feedback, then more shooting. That’s where you gain confidence fast.
Just make sure you factor in admissions for stops that are not included, and plan for a good-weather window. If the weather cooperates, this is one of those Rome evenings that can leave you with photos you’ll keep, not just screenshots.
FAQ
How long is the Rome private sunset and night photography guided tour?
It runs for about 3 hours.
Where is the meeting point, and does the tour return you there?
You meet at Largo di Torre Argentina, 8, 00186 Roma RM, Italy, and the activity ends back at the same meeting point.
What time does the tour operate?
It runs Monday through Sunday from 7:30 PM to 10:30 PM.
Is it a private tour?
Yes. It’s private, and only your group will participate.
What is included, and what should I bring?
Included: a tripod if you don’t have one, plus a customized tour. You must bring your own camera.
Are any admissions included?
Admission is not included at the Pantheon and Sant’Angelo. Other listed stops have free admission.